The Parts You Will Need...
Most of the conversion parts are easily found online, with a few smaller items at your local hardware store.
You'll Need A Bike To Convert...
Before buying any parts you should have a good used or new bike ready to convert... The instructions below are specific for Beach Cruiser bikes... But most any basic bike be converted using these instructions... So be sure to read through and adjust as need be for you own bike style... Feel free to connect with me if you need any guidance.
VINTAGE Bikes... If you have a vintage bike that you are considering for this project, performing this update on it will likely result in decreasing its 'collectors' value, however, if you do decide you want to use it, be sure it is mechanically sound before beginning any eBike updates on it.
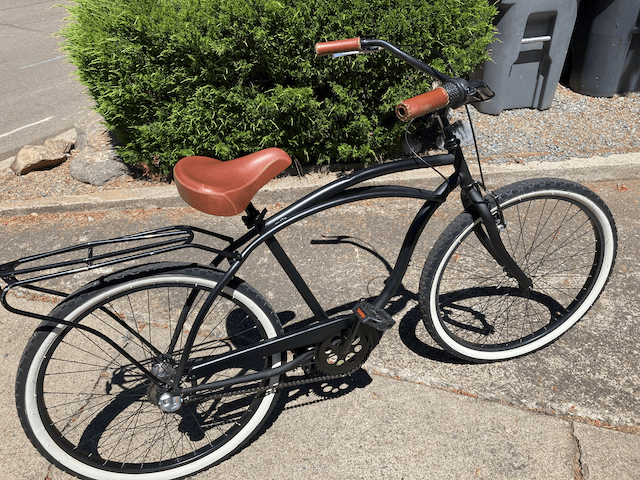
For this DYI guide I converted a used bike I found on Craigslist for only $99.
USED Bikes... Finding a good used bike or having one already to convert is obviously going save you a few bucks, however, if you do choose this route, just make sure that the bike is in good shape.
You can often find great deals in your local CraigsList... For example, the bike that I use within this step-by-step guide was listed in my local area for only $99.
NEW Beach Cruiser Style Bikes... If you want to convert a beach cruiser style bike... I recommend you go with a dependable heavy steel frame bike with some built in features to make your update even easier.
For example, Huffy makes quite few excellent new cruiser bikes that won't cost you too much and are a perfect fit for this conversion as many of them already include a rear bike rack and front basket, which are necessary items for this specific eBike build. Check out some their great bikes below...
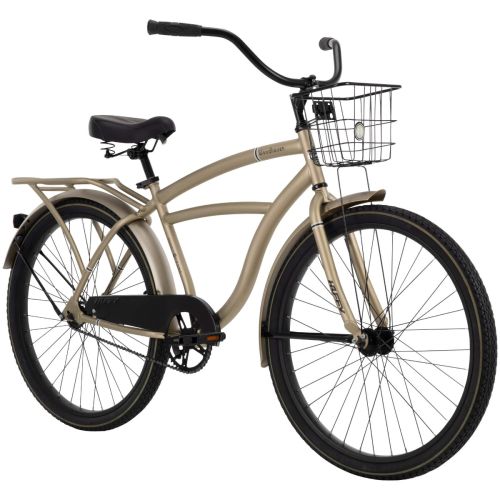
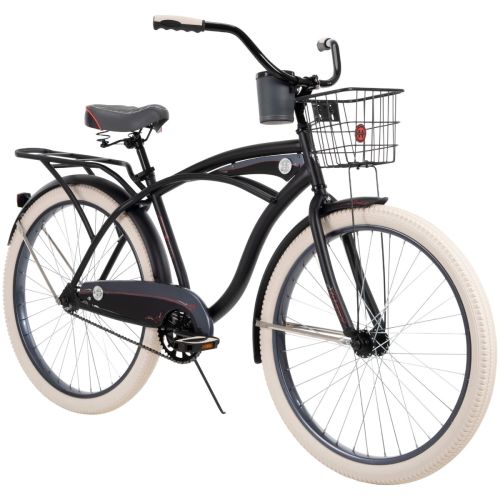
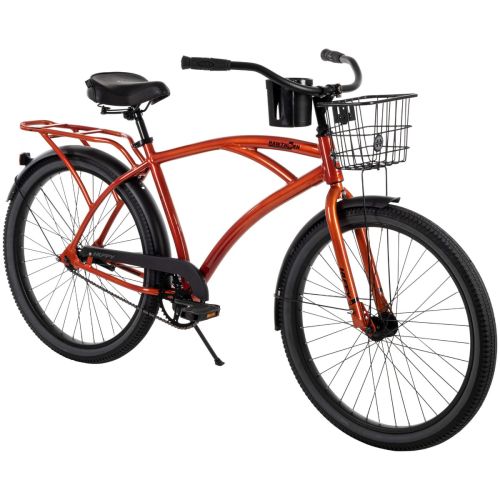
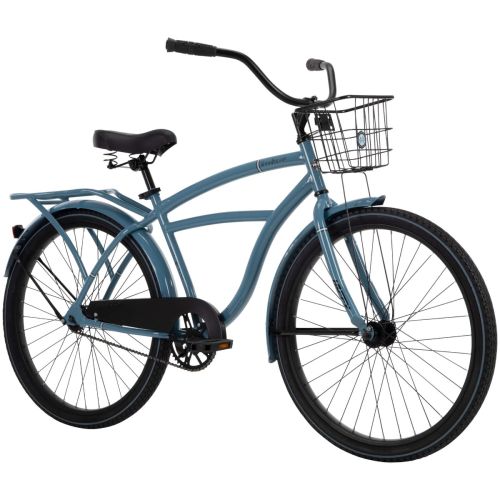
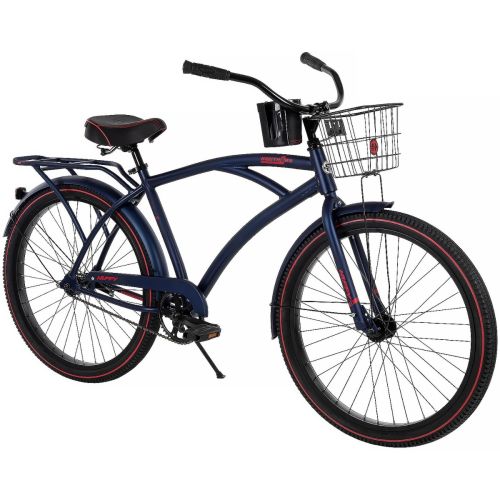
Look for similar features in any NEW bike style you choose, as it will help you avoid purchasing additional items to complete the conversion properly.
You'll Need A Wheel Conversion Kit...
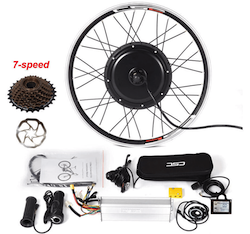
For a beach cruiser type of bike, I recommend using a 500w/36V Front Wheel Electric Bicycle Conversion Kit that includes most of the major parts we’ll need. The kit includes the front hub motor that’s enough power to get you up most hills with minimal pedaling.
It’s an easy conversion for this type of bike… It includes a complete 26” Front Hub Motor Wheel, which is simply going to replace your bikes current wheel and allows for continued operation of the rear coaster brakes once you are complete.
If you want to convert a mountain bike, you can use use a REAR Wheel Electric Bicycle Conversion Kit as noted.
26" FRONT Wheel Electric Bicycle Hub Motor Conversion Kit 36V 500W
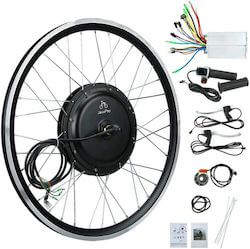
This is the kit I used for the Black Beach Cruiser Conversion and has 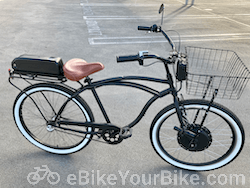 500 Watts of power. It’s a great match for this type of front wheel drive design…Giving the average rider who is less than 18Olbs plenty of power to easily get up hills.


26" REAR Wheel Electric Bicycle Hub Motor Conversion Kit 36V 750W
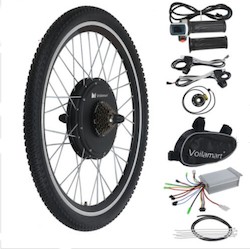
This is the type of Rear Wheel Conversion Kit that I used for the Old School Mountain Bike Conversion with 26" wheels… 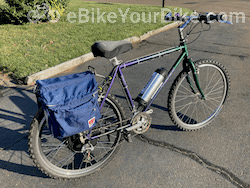 It’s also throttle type and includes special brake levers…The kit I used was 750W…But seems hard to find at the moment on eBay… But is available at Amazon.
29" or Custom - 48v 1000w eBike Hub Motor Conversion Kit
For wheels larger that 26", you can check out this Rear Wheel Conversion Kit which was used on the I used for the Mountain Bike Conversion which had 29" wheels… 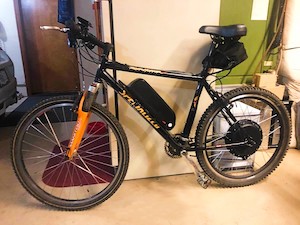 It’s also throttle type and includes special brake levers…But also a nice digital display…The kit uses a 1000w rear motor… So you should check with your local laws if this is legal in your area… As many states only allow up to 750W.
All of these kits is going to turn your bike into a “Class 2” eBike.
These kits include all the major electronic parts necessary and use a twist style throttle (like a moped or motorcycle) and include special brake levers to instantly cut power to the motor when applied… A very important safety element to be sure!
You'll Need an eBike Battery...
The number one question I get asked about my eBike is “how far can I go”… Truth is there are just too many variables to know for sure, as it’s always a combination of how much you pedal vs relying on the motor, as well as your weight, and how many hills you go up… Even which way and how hard the wind it blowing.
Essentially though, the amount of battery power you use during your ride will dictate how far you can really go, but let’s face it, in the end it’s a bike… So you can always just ride it without power if need be… Not fast mind you.
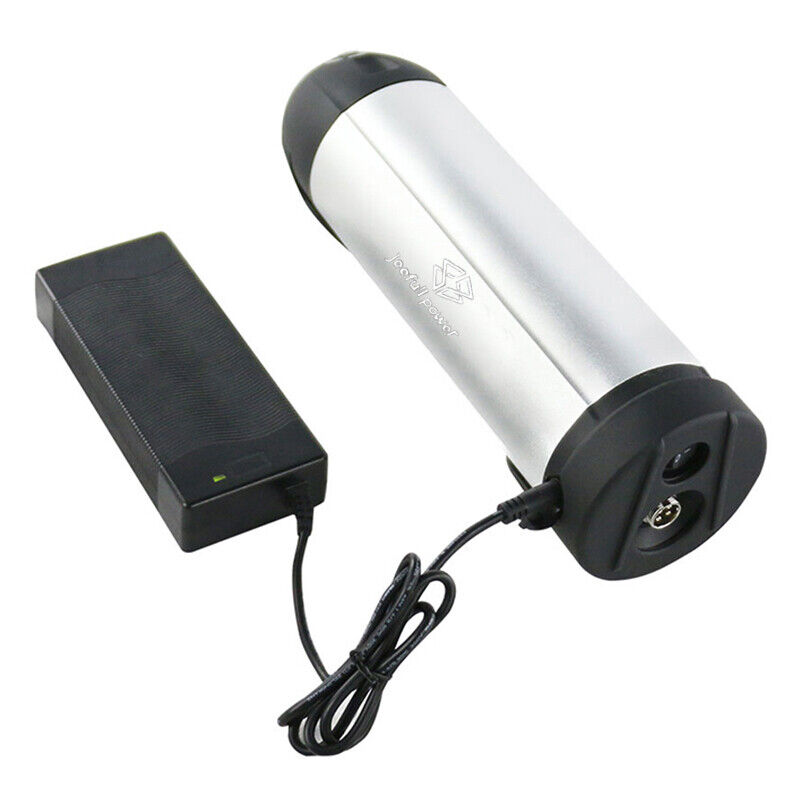
36V 13.5AH Lithium Battery
For the Beach Cruiser eBike conversion in this guide… I used a 36V 13.5AH battery… This battery provides you with about 500 Watts of power… Enough to run your motor full throttle for and hour… This battery also has a familiar case design, and it’s own power level lights to help you determine it’s current strength during your rides.
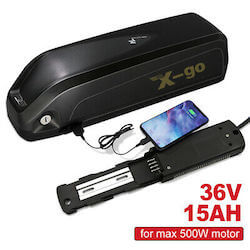
36V 10.0AH Lithium Battery Bottle Type
I used this battery for the Older Mountain Bike conversion. This 36V 10AH battery provides you with about 360 Watts of power. Enough for about a 15 mile ride…Or more, if you don’t mind pedaling a bit as well ;-).
It also both less costly than larger capicity batteries, as well as being simple to attach to your bike if you have room on your inside of the frame.
It’s a great starter battery and includes power level lights to help you determine it’s current power strength.
Once you ride your own bike for a period of time, you will quickly get a good idea of how far you can go just by referencing the battery indicator lights on the battery and throttle.
Personally, I’ve had great longevity with my similar battery and have been using it for 3+ years straight now, which is easily over 4,000 miles and it still holds plenty of charge.
You'll Need A Torque Arm...
Torque arms help your bicycle’s dropouts, the part of the bike that holds onto the axles of the wheel, resist the torque of an eBike motor.
The front fork of a basic bike is designed to simply hold the wheel in place as front wheels don’t apply any torque when riding, however, when you change to an electric eBike hub motor, things become an issue.
Even though most beach cruiser bikes are built using heavy steel frames and have very strong dropouts, eBike hub motors simply generate so much force on the wheels axle, that without proper reinforcement, the wheel can spin out of the dropouts while riding, causing damage to you and your bike.
Torque Arm Set - Works For Either Front/Rear Wheel
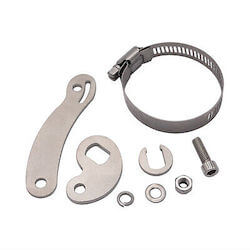
I recommend using only one torque arm for this build, even though two come in a set, mainly because this eBike wheel motor is rated at 500Watts of power… In which one torque arm should be enough, however, anything more, say a 1000W rated motor, I would recommend using two, one on each side.
If You Need A Front Basket...
A front basket gives you some to attach the component box to (next item) and is works nicely because it helps to having more weight over the front wheel for better traction…You will also find it most useful to be able to carry items in it too!
Front baskets will come in array of options, and some will come with your bike, so it’s up to you on this one… Although, if you do need to get one… I really like the “Wald” brand and as they offer classic style, great functionality, and easy installation.
Wald 1392 Large Front Basket (black)
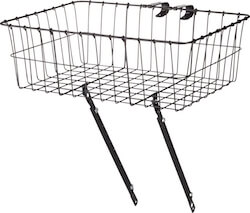
For the build example in this guide, I am going to use this Wald 1392 Large Front Basket (in black), which is wider than the one I used on the orange eBike one.
Wald 137 Standard Medium Front Bike Basket (silver)
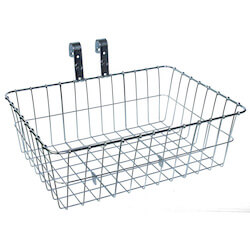
This is the basket I used on the Orange Beach Cruiser eBike and is a bit smaller than my older one, but I really like it because it’s not as deep and is more streamlined looking.
If You Need A Rear Bike Rack...
Many eBikes place their batteries into the center frame area of the bike, usually where you would normally find a water bottle, but most beach cruiser bike frames don’t have enough room to adequately place one inside this area. Also, from a design standpoint, keeping the inner frame open helps really maintain the nice lines of this eBike cruiser, giving it a distinctive visual look.
Ideally your base bike will have come pre-built with a strong rear rack already installed like the bike I found on Craigslist, or directly as part of the frame like all of the new bikes I recommend above.
Either way, it’s a structural requirement for our Beach Cruiser eBike build, so you will need to get one if your’s base bike doesn’t already have one.
"Vintage" Style Steel Beach Cruiser Rack
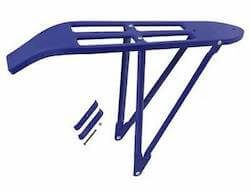
This is the rack I have on the orange Beach Cruiser eBike, it cost a few dollars more, but I really like the look of it!
Ventura Economical Bicycle Rack
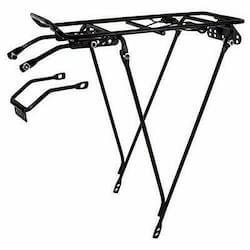
You can easily use a basic model if cost is a factor, just as long as it’s sturdy enough to support the weight of the battery plus any possible rear baskets or bags you might be thinking about.
You'll Need A Holder For Your Controller...
The Front Wheel Conversion Kit we use for this eBike build includes a small metal box called the “controller” that contains the electronics and all the wires from throttle, wheel motor, and battery will be connected to it, which can create quite a spaghetti of wires.
Many self-made eBike conversions often will contain these using a strap-on bike carrier bag or equivalent, however, I like going with this box that looks more streamlined.
Waterproof Sealed Component Box - XL
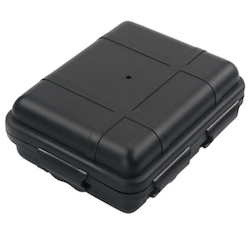
To keep things neat and orderly, I recommend using this water resistant plastic box found which is just the right size to neatly tuck away behind most any basket and hold all the extra spaghetti wiring.
You Might Need Some Basic Hardware
A few smaller, but important items that you will need for this conversion are probably best found at your local hardware store.
4 Feet of 14 Gauge SVR Wire
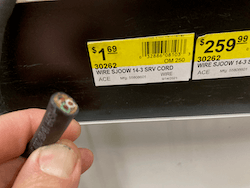
I am using this basic black 14 gauge wire I found at my local ACE hardware store which we will use to connect the battery to the main controller box… It’s inexpensive and will work great for our needs.
It includes three internal wires, though we will only use two of them, one for positive and one negative. If you have alternative wire options available, just make sure it’s 14 Gauge and stranded for superior flexibility.
A Bunch of Zip-Ties
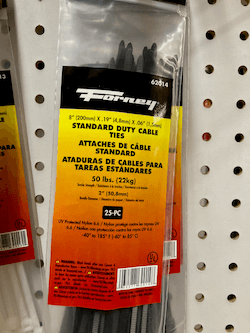
Zip ties will you keep all the wires securely fastened and tucked away… which provided for clean and neat appearance.
I use about 35 or so 8" zip ties for all the fastening needs and then clip off any unneeded extra length as I go along… You can get zip-ties at your local hardware store or just about anywhere else these days… But you can also get them bulk online where they are super inexpensive.
Screws, Nuts, and Washers For Front Basket Legs

These screws are used to secure the bottom of the front basket supporting bars to your front fork eyelets.
For each leg bottom, I used a M6 x 35 x 1.0 pitch stainless steel screw, a M6 stainless steel regular and lock washer, and matching stainless steel nut.
Electrical Shrink Tubing

For connecting the main wires, I use 2 different shrink tubing diameters… They are 5mm and 13mm and you can find them at your local hardware store.
Better yet tough, if you have the time, you also can get these bulk online where they are super inexpensive.
14 Gauge Butt Spices
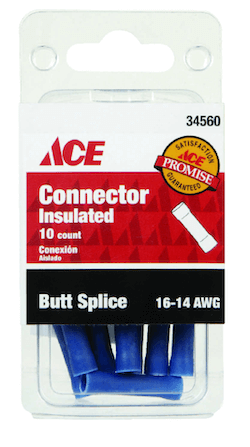
You will need to use at least 4 of these for connecting our power wire. I recommend getting a few extra in case you run into issues. These come in simple 10 packs at your local hardware store.
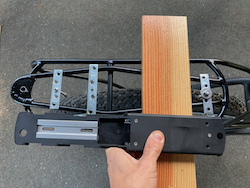
To Make the Battery Bracket For Rear Rack
This Beach Cruiser eBike design requires your battery to be placed on a rear rack, however, since many of them have uneven surfaces, it can be a real challenge to attach them securely.
In Step: 20 of the guide, I show you how to use a wood board to create a solid, level, and secure base for our battery bracket to attach to… Here are the parts I used to create it.
15" x 1x4" Wood Board For Rear Battery Bracket

I used 2 feet of Douglas Fir that I picked up at my local hardware for only $2… It cuts and drills really easily and can be painted easily enough for added protection from road debris and give it a slick clean look.
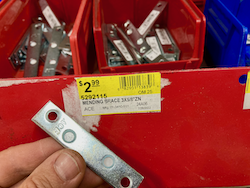
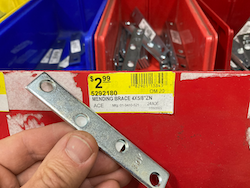
Screw, Brace, Nut, and Washer For Locking Down The Board To Your Rack
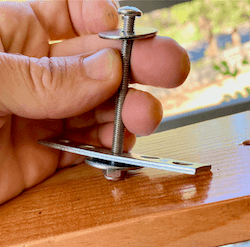
To create the bracing screw solution, you’ll need to get a few parts from your local hardware store:
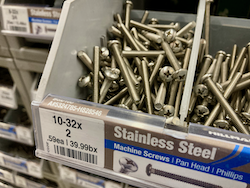
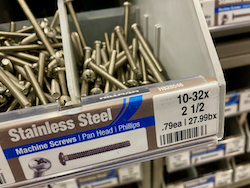
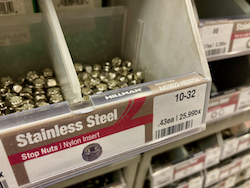
Each bracing screw set-up should consist of using a stainless steel pan head screw… Size 10 x 32 x whatever length you need.
In my case, because I propped the front of my board up a bit to level things out… I used a longer 2.5" screw for the front and 2" screws for the others.
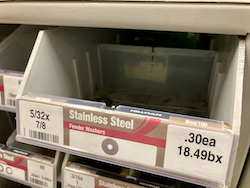
You will also need 2 Stainless Steel Washers and 1 Nylon Stop Nut.
Bracer bars come in different lengths, so be sure to get ones that overlap your rails a bit… See the photos below for details.